EASY WAY TO CREATE MOOD BOARD PHOTO COLLAGE
- Greer Saunders

- Apr 11, 2020
- 4 min read
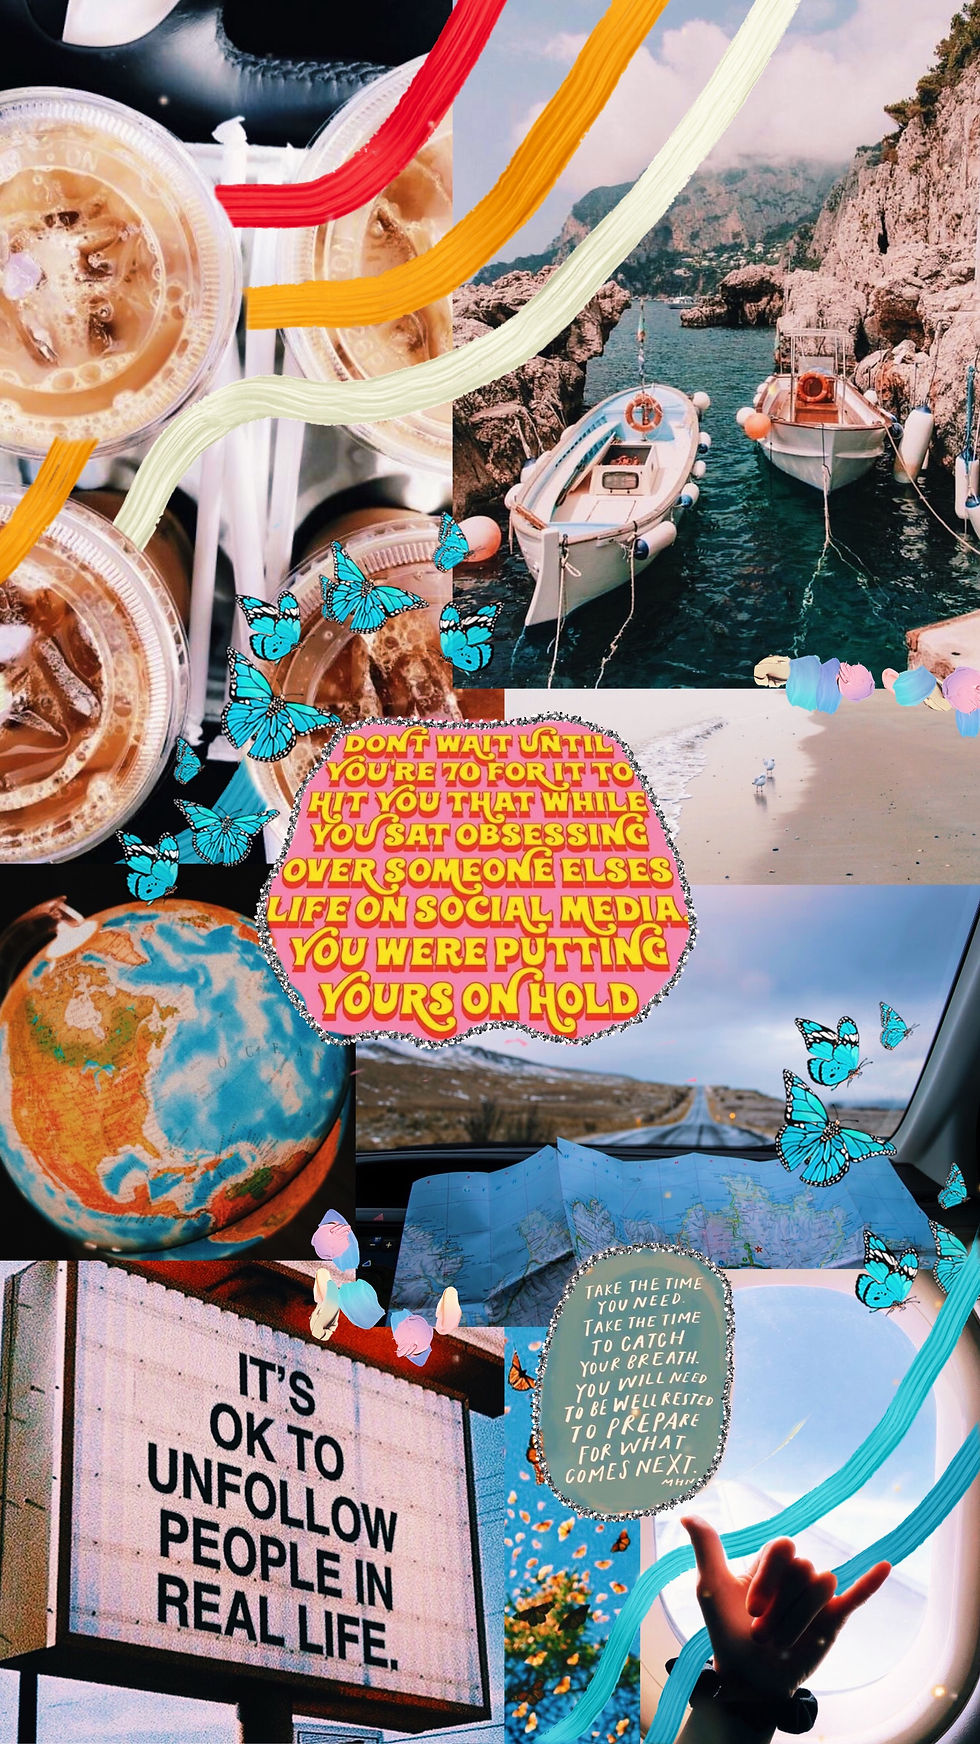
If you know me, you know I always am trying to create some type of mood board or aesthetically pleasing collage. A lot of my friends even ask me to make one for them to use as their phone background or just have. So, I thought it would be helpful to explain how I make them! First of all, these are so easy. The only "hard" thing about it is all the time it takes. It can take at least 30 minutes to complete a mood board for me. But, I find this so relaxing and fun the time goes by fast! Step 1: Find what "mood" or "vibe" you want to create. Mood or vibe mean what do you want to feel when you look at it. A lot of what goes into that is a color scheme. If I want to feel happy, I will pick out photos with lots of colors in them. If I want to feel calm, I usually choose a color scheme that is calming, such as blue or neutral tones. If I want to feel like a boss or "baddie," I would choose hot pink colors. It's all up to personal preference! For example, I chose the color seafoam green, and I want to do a boujee/vintage vibe with it. (You'll see what I mean as you continue to read) NOTE: If I am making a board for my friends, I always ask them about things they like and what their favorite colors are. Then from there, I choose which vibe I want to go with. If my friend says the beach and hot pink, then I obviously follow a vibe that includes beach photos and the color pink. Here are some examples of mood boards I've made in the past:


Step 2: PINTEREST is your best friend. Once you figured out your mood/vibe, get settled into Pinterest for the next few minutes. I type in whatever your theme is and then add "aesthetic" behind it. For example, I am doing a seafoam/mint green color scheme with a vintage vibe. So, I'll search for seafoam green aesthetic. I download just about every photo that I think goes along with my vision. Then I will search for Vintage aesthetic or white boujee aesthetic. Any keywords I can think of that go along with my idea. It's also okay to change your theme throughout finding pictures. Sometimes I find photos or see colors that I like more than what I had initially planned in my mind.

If the board is for myself or for my friends, I try to add photos of things I/they like. Since this is for me, my current obsession is Timothée Chalamet. So, I search for Timothée Chalamet green. Or whatever keyword I want after his name to bring up photos of him that align with my theme.
NOTE: An alternative to Pinterest would be vsco or weheartit.com, but 90% of VSCO and WeHeartIt photos are on Pinterest. However, sometimes if you can find the right VSCO account, you can hit the jackpot in cool images.
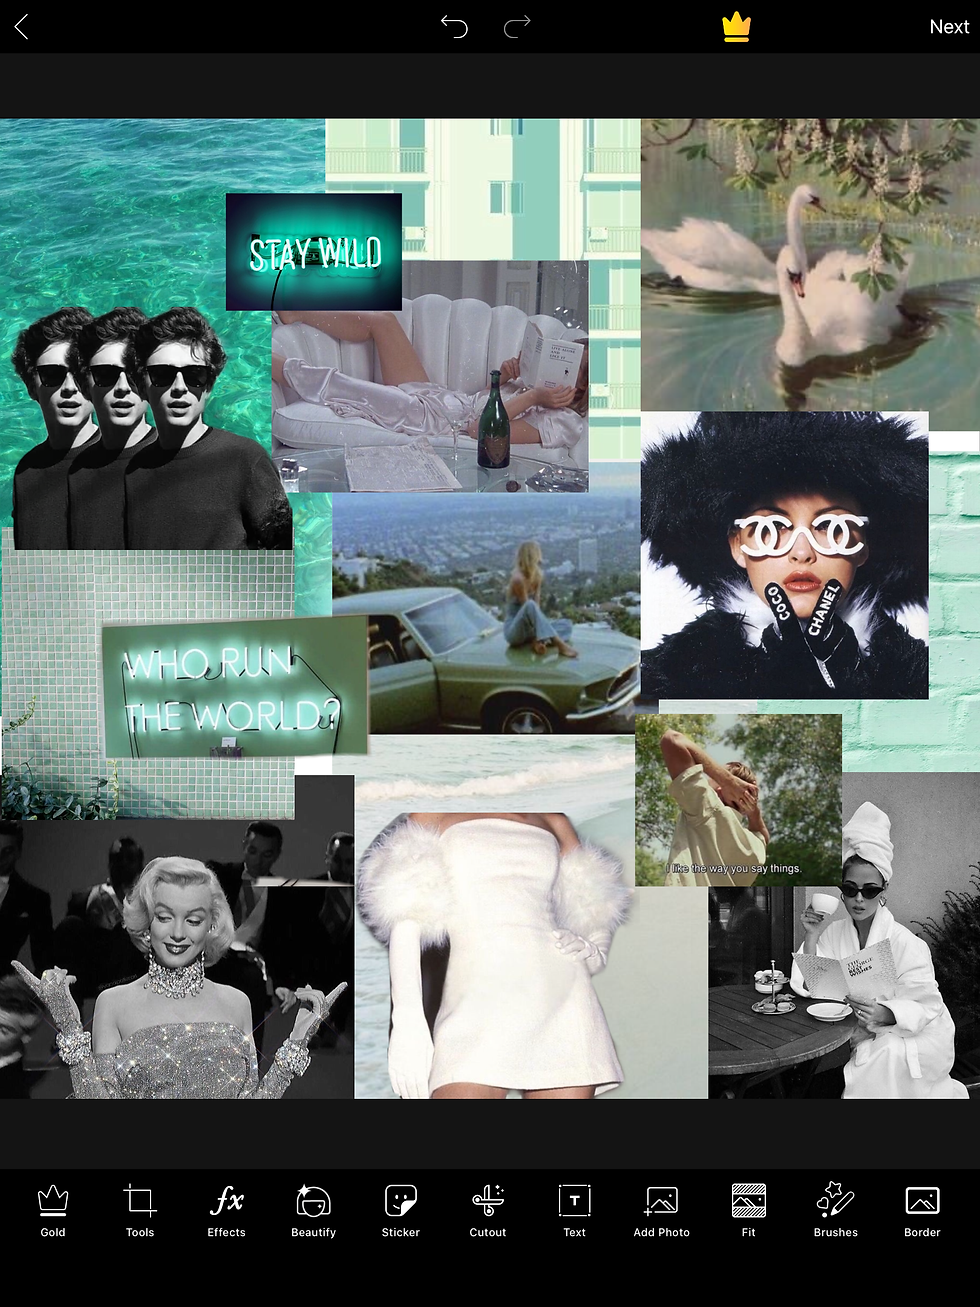
Step 3: PicsArt app. I've made collages on photoshop, InDesign, and PicsArt. But the easiest one to use by far is PicsArt. You can do just about anything on it. However, you want to make a collage of the photos you just downloaded from Pinterest, though. 1. To make a collage, I click the plus + sign, and it gives you options on what you want to do. I scroll down to "Color Backgrounds" and click whatever color you want as the background. I usually do white or transparent one because my photos end up covering the whole page. It automatically makes that background a square, but if you click "Tools" then "Crop," at the bottom of the screen, it will have different ratios you can choose from. It even says, "Instagram story" so that you can create a board that would fit perfectly on Instagram! For this board, I'm just going stick with the square. 2. Then I add the photos! You click "Add photos" at the toolbar on the bottom. Be careful, once you added a photo. Do not click "Apply" in the top right-hand corner. It will lock that photo in place, and you cannot edit or adjust it throughout your process. You can also only add 10 pictures at a time before you have to click "Apply" and it locks them into place. So, if you have more than 10 photos, I suggest putting those down first and placing them. Then once you have to click "Apply," you can add more photos, which could be your smaller ones that go over the big ones. When I have portrait photos of people, patterns, or quote photos, I can erase certain parts of the picture. If you have the photo you want to be selected, up top in the toolbar, there is an eraser icon. Click it. At the bottom toolbar, you can erase parts of that photo. You can also click a little person icon there, and if you have a portrait or someone, it will automatically delete their background. If it messes up and erases too much, there is a paintbrush icon you can fix it with. It's pretty handy and can help make your collage more unique!

They have many different brushes to use on your newly created mood board. For my collage, I am going to use the silver sequin brush. I usually use that brush to outline photos of people or around the edges of photos. There are so many more you can use to add effects and detail to your collage, though. Step 4: You're done! Once I finish a collage, I admire it for a second. It's really pleasing and satisfying to me. Then, I usually post it somewhere. Often, I will put a little filter over it and upload it to VSCO. Whatever you do-- be proud! It takes a long time to make one and some brainpower to creatively come up with it.
My final product:

I hope this step by step helps someone! This is such a great way to express yourself. It helps me with my anxiety, boredom and overall, I love it.


Comments